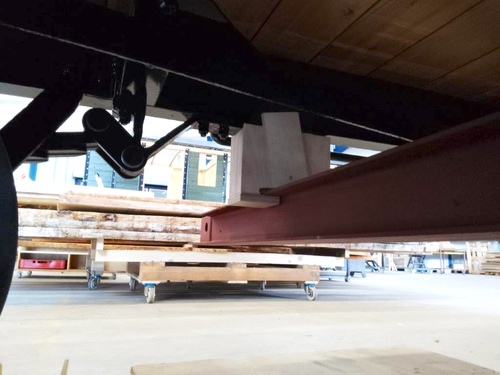
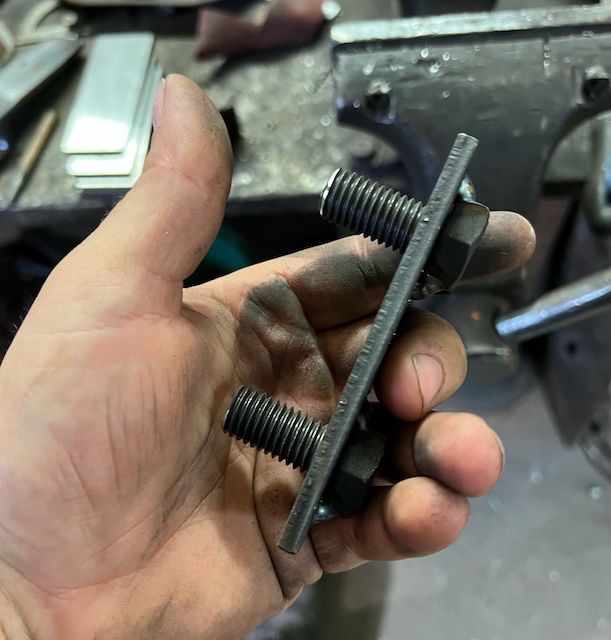
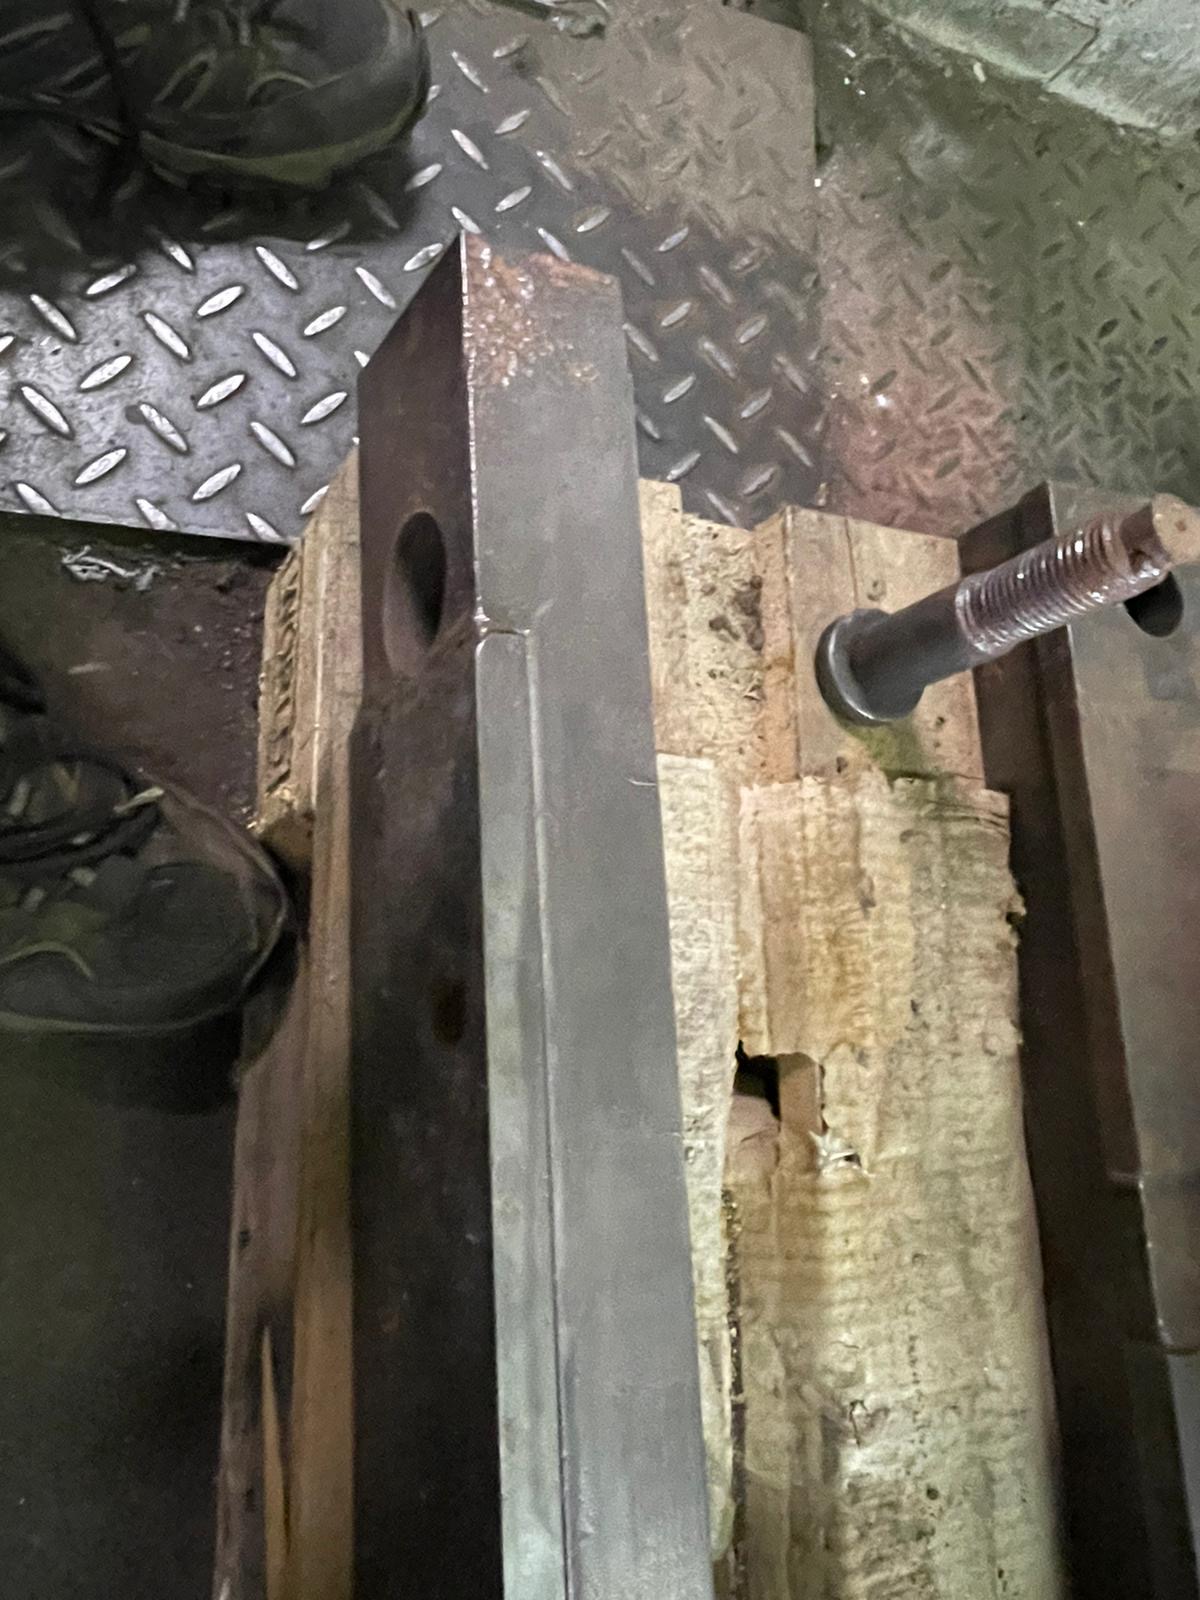
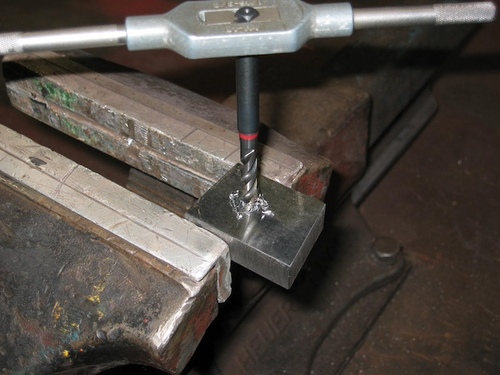
3. Oktober 2024: Krangeschirr für Güterwagen
Mangels passenden Krangeschirrs vor Ort hat unser Schreiner für die Verladung des O-Wagen GbKB 1050 - in Anlehnung an das Zubehör der Firma Remmers - 2 Träger und 2 Spreizen fertigen lassen. Für den O-Wagen hat er dann noch extra Halterungen für die Träger gebaut, um die Träger rutschfest zu fixieren und keinen Schaden am Träger zu bekommen.
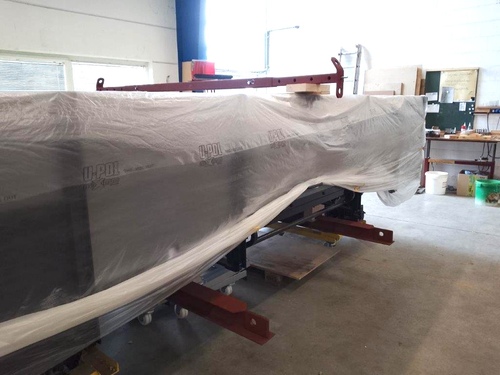
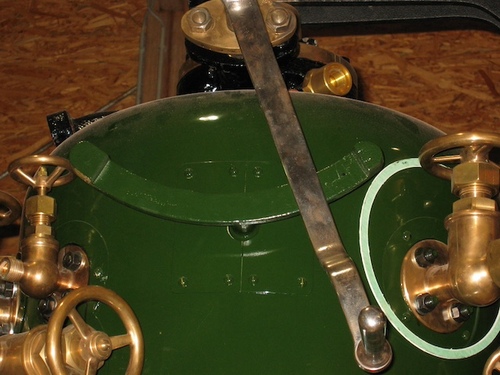
2. Oktober 2024: Kühlwasserbehälter RUR lackiert
"Ein schöner Rücken kann auch entzücken". Der Kühlwasserbehälter der RUR ist jetzt schwarz lackiert. Leider werden die hier gezeigten Unter- und Rückseiten nach dem Aufsetzen des Lokkastens später nicht mehr zu sehen sein.

30. September 2024: Lokkasten RUR innen grundiert
Der Lokkasten der RUR hat innen seine erste Grundierung erhalten, ebenso die Außenseiten und der Boden vom Kühlwasserbehälter.


28. September 2024: Vorderer Luftbehälter RUR
"Platz ist in der kleinsten Hütte"! Eine Kastenlok mit Innentriebwerk ist schon ziemlich "verbaut"; für den vorderen Luftbehälter der Drückluftbremse wurde aber ein guter Platz gefunden. Nach dem Bau einer Halterung wurde der Behälter probeweise hinein gelegt.

27. September 2024: Details Lampenhalter RUR
Diese Woche ging es weiter mit den Laternenhaltern für die Rur. Die abgelängten und geschliffenen Flacheisen wurden gebogen, im passenen Winkel geschnitten und mitander verschweißt. Ein Halter nach dem Sauberschleifen.
In den Halter und im Lokkasten wurden Löcher gebohrt. Für die unteren Halter wurde noch eine Platte mit fixierten Schrauben gebaut, da die Halterung später hinter dem Wasserkasten sitzt und nicht mehr zugänglich sein wird.
Mit einer Lampe wurde Halter für Halter überprüft, ob auch alles schön gerade sitzt.

26. September 2024: Beschichten Kühlwasserbehälter RUR
Der Kühlwasserbehälter wurde innen mit Branth-Mennige grundiert ...

und mit SIKA Poxicolor beschichtet. Da kommt nach dem Antrocknen noch eine zweite Lage rein.

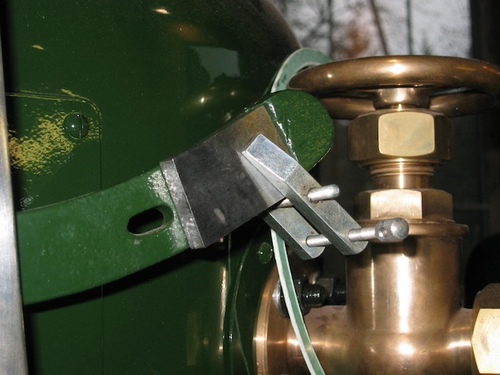
25. September 2024: Laternenhalter RUR
Wir haben begonnen die Laternenhalter für die RUR zu bauen. Als Muster dienen die Laternenhalter der Henschelkastenlok ZE 607 im Smalspoorrmuseum in Valkenburg. Die gleiche Bauart ist auch auf Fotos der Kastenloks der Dürener Dampfstraßenbahn zu erkennen; nur saßen die Halter in Düren etwas höher (Die Kamine der Lampen schließen in etwa bündig mit der Brüstung ab).
Zur Anfertigung der Halter werden zunächst Flacheisen auf die richtige Länge abgesägt und anschließend auf die richtige Dicke gefräst und geschliffen.
Anprobe der Halter mit einer Loklaterne. Die Lampenhalter sind jetzt erstmal wieder runter und sind grundiert. Die Montage erfolgt dann nach der Außenlackierung des Lokkastens. Die Befestigungsschrauben sind an einem auf der Innenseite befindlichen Blechstreifen festgeheftet. Diese Blechstreifen pappen wir ich mit Sika-Flex o.ä. von der Innenseite fest, sodass da nichts in die Wasserkästen bzw den Spalt zw Kühlwasserbehälter und Lokkasten fallen kann, wenn man die Halter später nochmal demontiert.
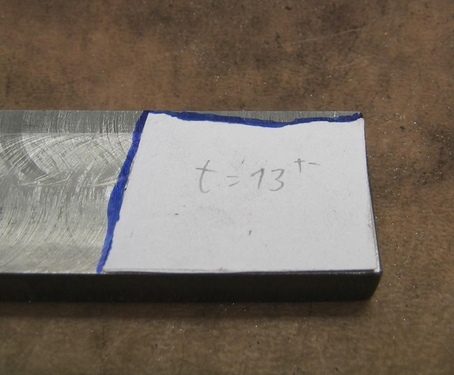
24. September 2024: Biegestempel Entwässerungsleitung Schalldämpfer RUR
Für dieEntwässerungsleitung des Vakuumsauger-Schalldämpfers wurde eine Schablone zur Abklärung der benötigten Biege- und
Übergangsradien angefertigt - hier gibt es wenig Platz wegen der Sandkastenklappe.
Da die marktüblichen Biegeformen für ø13mm Rohr die benötigten Radien nicht ermöglichen, wird ein Biegestempel mit entsprechend engem Radius angefertigt.
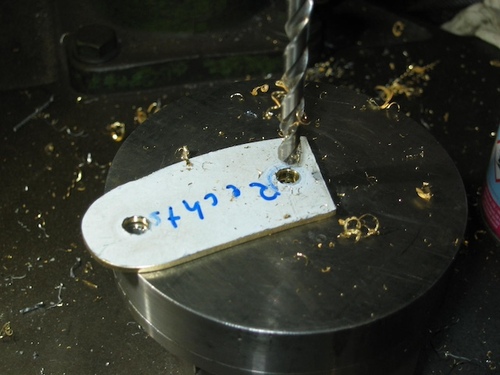
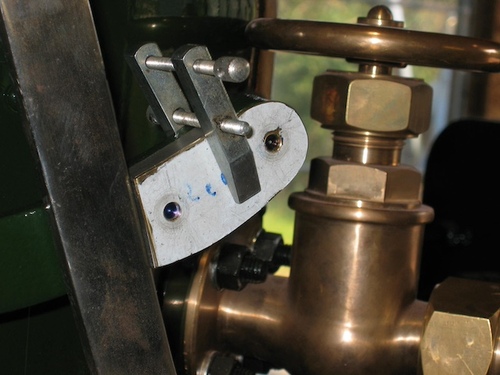
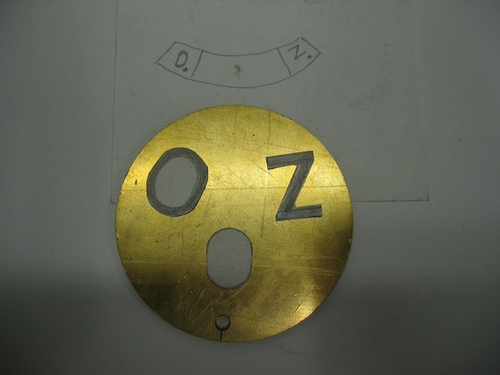
23. September 2024: Buchstaben für die Regleranschläge der RUR (2)
Die Abdeckbleche für die Regleranschlagsbleche wurden aus Messingblech ausgesägt und die Kontur passend zur Schablone angepasst und 1/4" BSA-Gewinde für die Abdeckbleche in die Reglerbockanschläge bzw. den Reglerbock geschnitten.
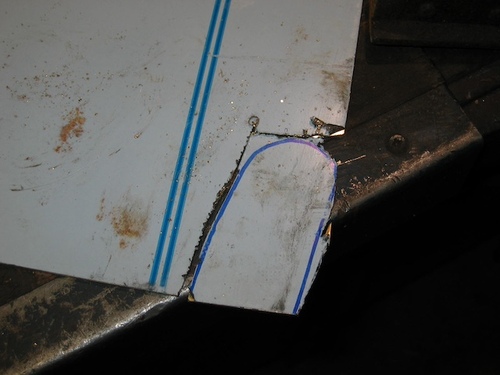

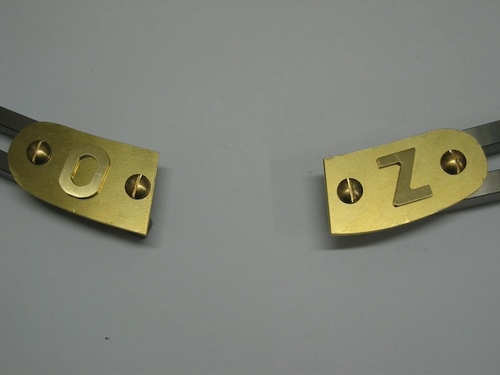
22. September 2024: Buchstaben für die Regleranschläge der RUR (1)
Die Buchstaben "O" und "Z" wurden aus Messingblech ausgesägt und die Konturen angefeilt. Von den Schablonen...
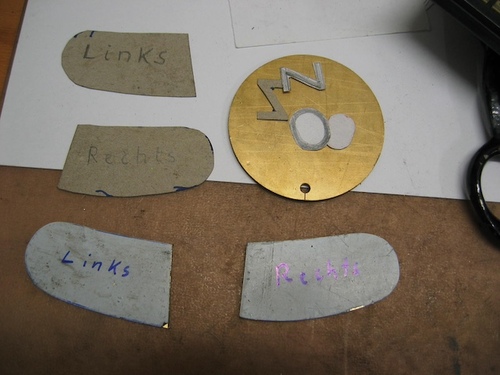
.... über das Sägen und Feilen...


... zu den fertigen Buchstaben. Morgen geht es mit Messingblechen weiter.
21. September 2024: Kohlenkasten RUR vom Strahlen zurück
Der Kondensatbehälter / Kohlenkasten der RUR ist vom Sandstrahlen zurück. In der nächsten Woche geht es los mit dem Grundieren des Behälters, zusammen mit dem Lokkasten.
20. September 2024: Krümmer Abdampfleitung RUR (3)
Nachdem wir das Ausströmkrümmer-Gußstück zerteilt hatten, werden die beiden Teile jetzt so vorbereitet, dass man ein Zwischenstück einlöten kann:


Die Herausforderung ist bei solchen Teilen ja immer das Aufspannen - die reine Dreharbeit fällt zeitlich kaum ins Gewicht.
19. September 2024: Teile für Dampfheizung PwPost BK 38 und Personenwagen
Die bestellten Gußteile für Dampfheizungen der Personenwagen schon vor einiger Zeit von der Gießerei bei EWK eingetroffen sind. Die 50 Rohrhalter sind auch schon zwischenzeitlich teilweise bearbeitet. Während die Abzweigstutzen noch relativ einfach zu bearbeiten sind (drei Linsensitze), müssen für die Abteilsteller noch Zeichnungen erstellt werden, denn die bei EWK vom damaligen Kunden beigestellten Musterstücke liegen nicht mehr vor.
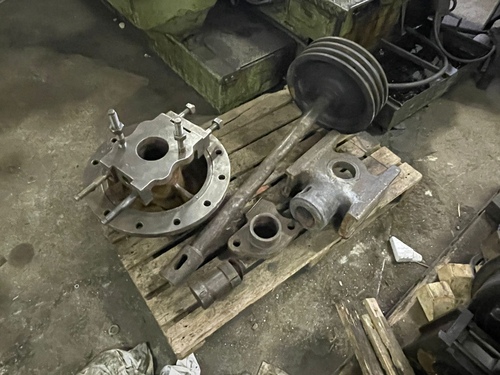
18. September 2024: Vordere Zylinderdeckel E.K.B. 14g
Nach den Schieberkastendeckeln (im Hintergrund) sind jetzt auch die Dichtflächen der beiden vorderen Zylinderdeckel bearbeitet.
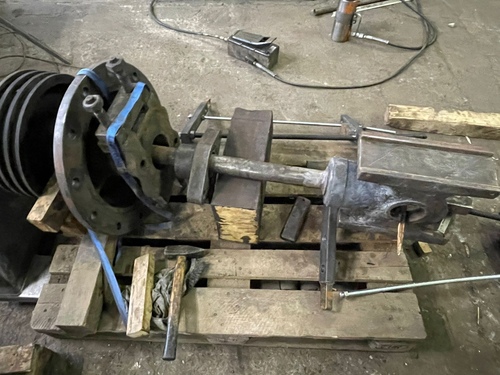
17. September 2024: Kolben - Zylinderdeckel - Kreuzkopf E.K.B. 14g
Vor gut vier Jahren hatten wir in Hüinghausen zeitsparend Kolben, hinteren Zylinderdeckel und Kreuzkopf als Einheit an der 14g abgebaut. In Zamberk werden jetzt die festsitzenden Einzelteile fachgerecht voneinander getrennt.
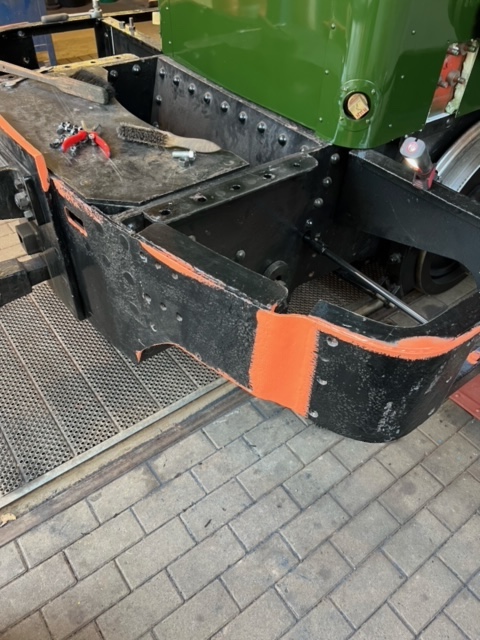
16. September 2024: Klappenhalterung und Stehkesselbefestigung RUR
Die Aufhänge- und Anschlagprofile für die Schürzenaufhängungsprofile sind wieder am Lokrahmen montiert. Die Befestigungsschrauben wurden zusammen mit den Schraubenköpfen der Stehkesselklammern und der vorderen Kesselbefestigung schwarz lackiert.
15. September 2024: Blätterteig aus Harlesiel
Durch freundliche Vermittlung vom DEV konnten wir den seit 1998 im Bahnhof Harlesiel aufgestellten Flachwagen X 63 077 übernehmen, der von 1904 bis 1973 als G-Wgen (Kar 188, Rastatt Bj 1903) bei der Nebenbahn Mosbach - Mudau im Einsatz war und danach, zum Flachwagen abgewrackt, weitere 27 Jahre auf der Inselbahn Wangerooge im Einsatz war. Auf den ersten Blick sieht der Wagen aus der Ferne noch gut aus, ....
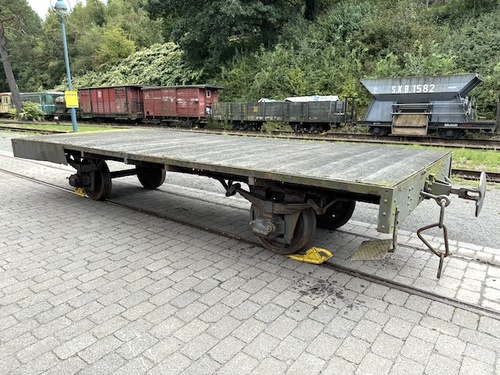
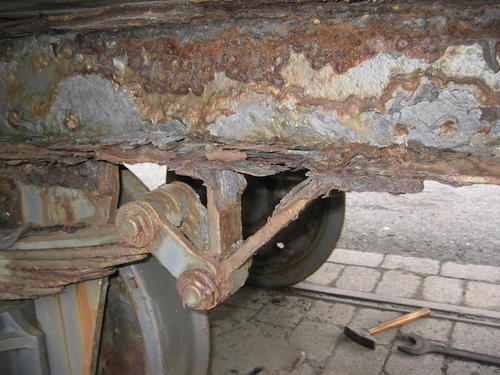
aber ein Blick auf die Längerträger und die Federböcke offenbart das - erwartete - Grauen. Dies war nach 50 Jahre gesunder Nordseeluft zu erwarten. Erstaunlich ist, dass an Stellen mit grauer Farbe die Träger noch stabil sind, es direkt daneben aber einem 2-Eurostückgroßen Lochfrass gibt, wo man mit dem Finger ein Loch durch den Träger bohren kann.

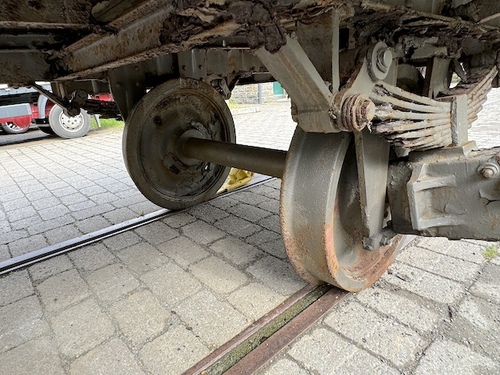
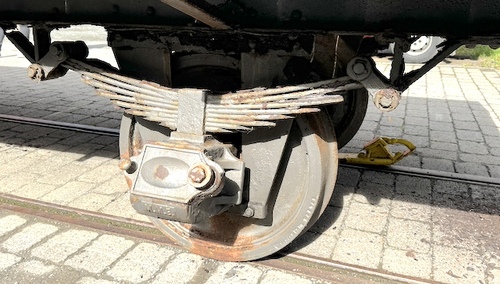
Zumindest Radsätze, Achslagergehäuse und Teile der Zug- und Stoßvorrichtung sind wiederverwendar, sodaß der Wagen als Teilespender für andere Wagen dienen kann. Ein interessantes Detail am Rande: Auf allen Achslagern sind die 3 Buchstaben M M E eingegossen, für "Mosbach Mudauer Eisenbahn".
Kein Muschelbesatz, sondern feinster Edelrost: 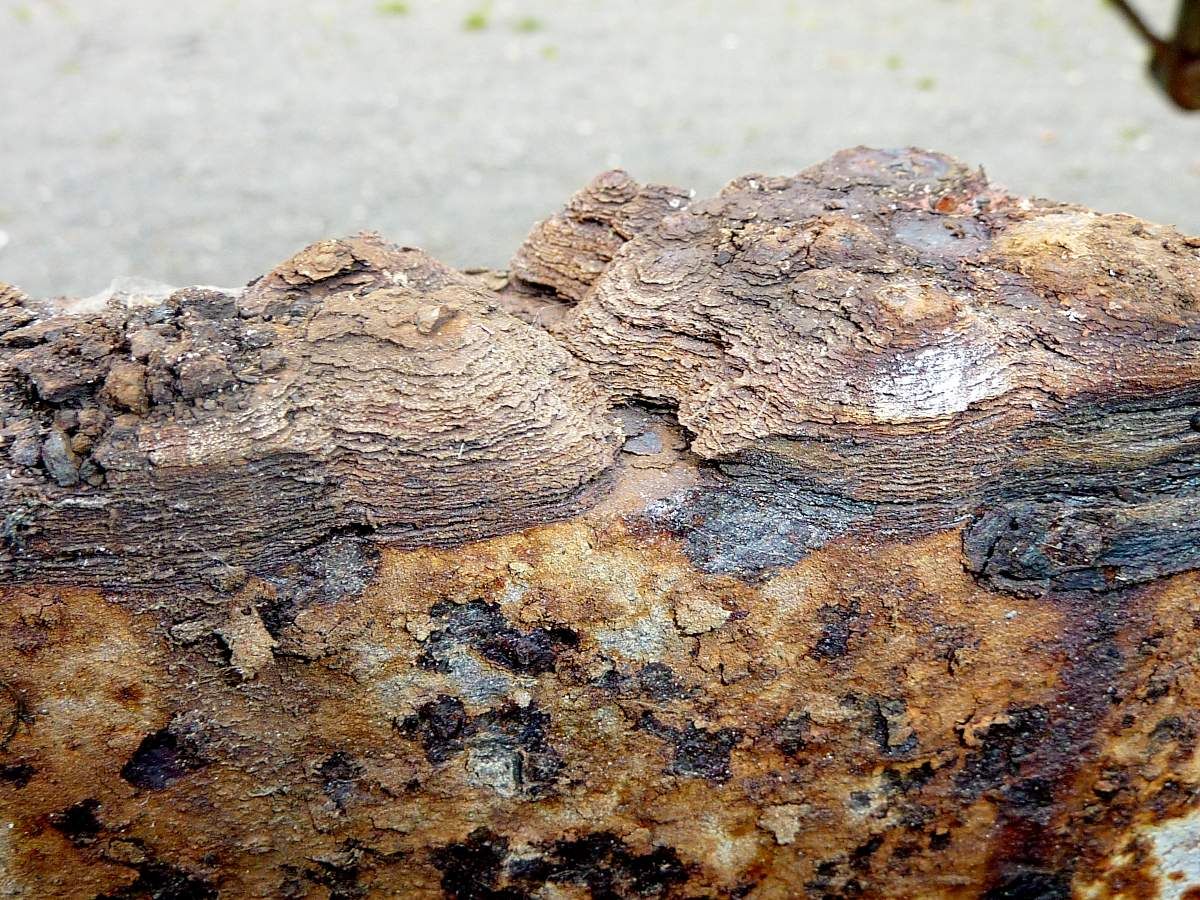
14. September 2024: Krümmer Abdampfleitung RUR (2)
Weiter geht es mit der Abdampfleitung zwischen Zylinderblock und Sammelkasten am Rauchkammersattel. Der Krümmer wird am Sattel getrennt, damit wir den Krümmer verlängern und auch seine Winkelposition passend zum Gegenstück am Zylinderblock ändern können. Dafür muss zuerst ein Werkzeug passend geschliffen werden. Als nächstes wird der Krümmer auf der Fräsmaschine aufgespannt und ausgerichtet...

... und dann per Ausspindelkopf von innen nach außen durchgetrennt.


11. September 2024: Inspektion Gleitbahnen E.K.B. 14g
Die Gleitbahnen der E.K.B. 14g haben nach der langen Aufstellung als Denkmal unter freien Himmer nicht nur tiefe Rostnarben auf der Gleitfläche; bei einer Gleitbahn zeigt sich auch ein Riß in der Schweißnaht zwischen Träger und Gleitplatte. Da wird wohl das Aufschweißen einer neuen Gleitplatte die Reparatur der Wahl zu sein.
Schön zu sehen: Wie die meisten Teile der Steuerung sind auch die Gleitbahnen der 14g mit der Fabriknummer gestempelt.
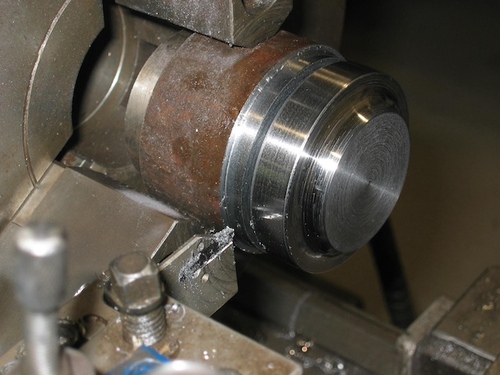
10. September 2024: Flachschieber E.K.B. 14g
Nach der Bearbeitung der Zylinderblöcke ist jetzt ein Flachschieber in Žamberk in Arbeit.

9. September 2024: Hintere Pufferbohle RUR
Der Kondensatbehälter wird vor dem Beschichten von innen zum Sandstrahlen geschickt.

Die Gelegenheit wurde genutzt, um die bei Anpassarbeiten verschliffenen Stellen an der hinteren Pufferbohle zu grundieren.
8. September 2024: Vordere Befestigung Kessel auf RUR
Den Kessel haben wir vorne am Rauchkammersattel mit Passchrauben am Rahmen befestigt. Dafür wurden die Schrauben auf die richtige Länge gekürzt und die Löcher aufgerieben.
7. September 2024: Regleranschläge RUR
Für den Regler wurden zwei Anschläge angefertigt und grob angepasst.

Größe und Kontur für die anzufertigenden Messingdeckplatten und Buchstaben "O" (Offen) und "Z" (Zu) wurden festgelegt und eine Probierschablone
angefertigt.
6. September 2024: Montage Triebwerksklappen RUR
Die beiden Klappen haben wir rechts und links angebaut und die Aufhängung rechts flammgerichtet, bis die Ausrichtung o.k. war. 
Danach wurden die Klappen und Aufhängeprofile wieder abgebaut und die Aufhängung entfettet, grundiert und schwarz lackiert.

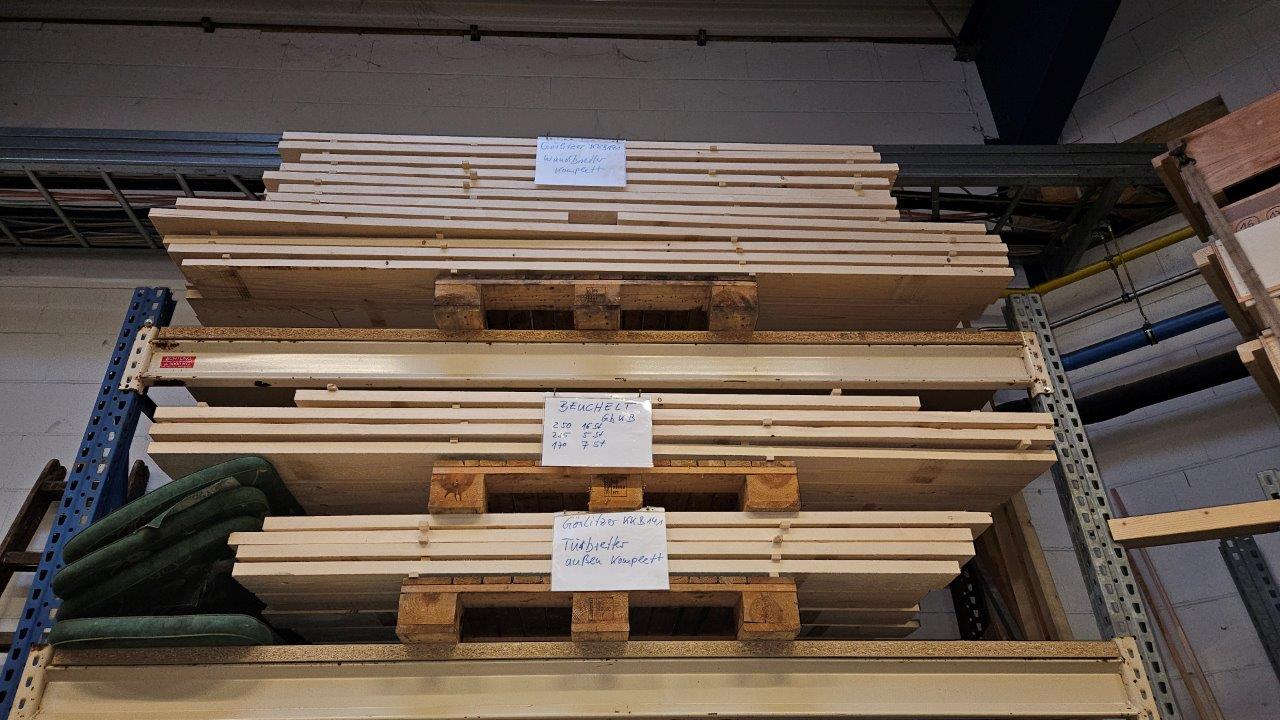
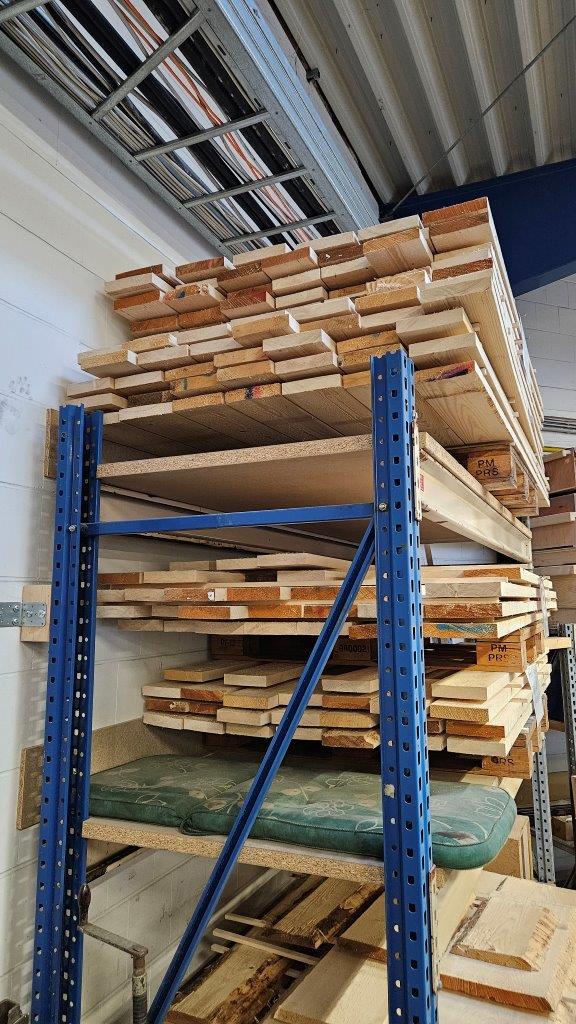
5. September 2024: Holz für die G-Wagen KKB 141 und GbKB 537
Unser Tischler war beim Holzhändler in Erfurt und hat den nächsten Schwung Fichte (ca 3m³) zur Wandverbretterung der beiden nächsten G-Wagen ausgesucht. Die sind jetzt vorgerichtet und zum Nachtrocknen eingelagert. Für den KKB 141 haben wir alles rausbekommen und für den GbKB 537 ca. die Hälfte.